On a lark the other day I decided to check if some of my favourite old blogs were still updating. Turns out, the Yarn Harlot is still going strong.
I found this post of hers rather inspiring: An airing of UFOs and taking a good hard look at them.
The beginning of the year brings out a decluttering urge in me. Or if not decluttering, at least surveying my hoard. I'll never be a minimalist (not even close), but sometimes it feels good to let go of things that are burderning you, rediscover lost loves, and just get a sense of where you are with everything.
I keep a lot of things on the needles. I have a short attention span and a fickle heart. I know this about myself and I don't try to restrain myself too much - knitting is my hobby, after all, and in the grand scheme of things, a halfway-finished project isn't a tragedy.
But I lose things, and I forget things, and my body changes shape, and my tastes change, and worst of all, sometimes the moths come. So it feels like a good idea to take out all those projects and get a sense of where they are.
PS: If like me, you haven't been keeping up with Yarn Harlot, I highly recommend this post about the whole family knitting a wedding blanket. It chokes me up a little.
Now, on to the WIPs!
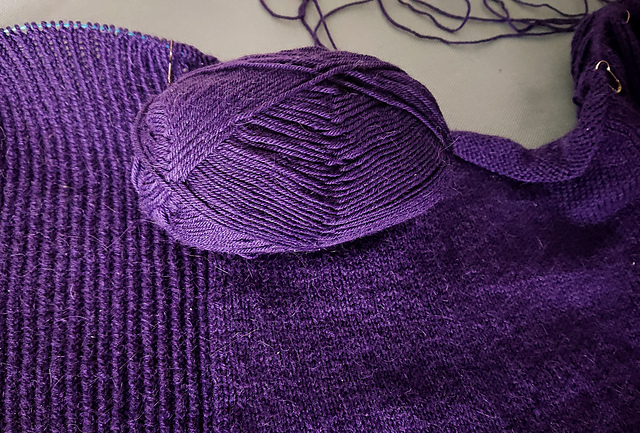
Angostura Vest
I'm surprised to see I only have a few inches done on this, because it felt like I had put a LOT of work into it already. I spent a long time planning it, trying to figure out how gauge works between ribbing and negative ease and a yarn that will stretch.
Its fate: So long as I can find my notes, I'd like to pick it up again, hopefully before next winter. But with the fiddly cables plus the fact that I'll need to seam it, I might not actually finish it this year.
Sheep Heid
Love this in theory, but there are two problems:
1. I didn't check gauge, it's too big, I'm planning to felt it but I'm scared about how that will go.
2. Moths have struck. I took the project off the shelf and one of the little things flew right in my face. Now it isn't as bad as it could be - they only just started to nibble, there are a couple of broken threads but no big holes. It's fixable.
Its fate: I'm putting it away for long enough to get over the moth trauma, and then we'll see what I can do. It's halfway done! It's handspun!
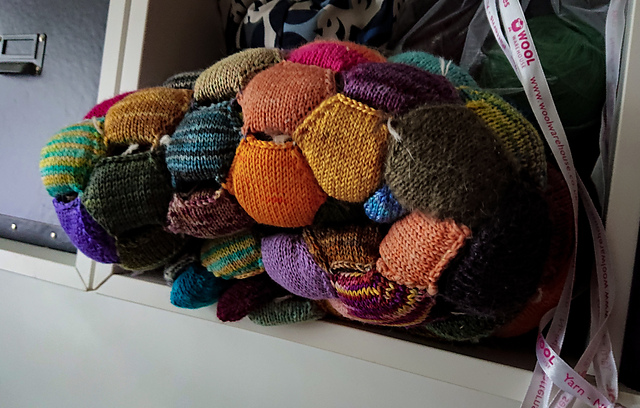
Hexipuffs scrap blanket
This project is stored on a shelf just above my bed, so I see it all the time, just staring at me.
It's a weird one - one of my oldest projects, and every time I re-visit it I think that I'm very close to finishing it, and then something else comes up. I'm running out of stuffing. Or it's not quite big enough and I need to add some extra columns. Or I need to mend it. Etc.
Its fate: Yeah, I'll finish it off one of these days...
Un-puffed Hexipuffs
What kind of monster am I, casting on a second project in the same pattern before I finish the first one? My fickle heart. In a moment of weakness, I hunted down every variety of beautiful honey-coloured yarn I could find, to make this honey-themed honeycomb blanket. I love it, it's my dedicated on-the-go project.
Its fate: I adore it. There's a hole in my life when I don't have hexipuffs to work on.
Kalajoki socks
Picked this up again just recently, after thinking about how much I loved the yarn. This is The Fibre Co Cumbria Fingering, a wool/mohair blend in a very heavy 'fingering' weight which makes a beautiful cushy fabric. And oh, that colour! A bright red-leaning purple with just a hint of heathered dimensionality.
Its fate: Back in the saddle! Nearly finished the first sock.
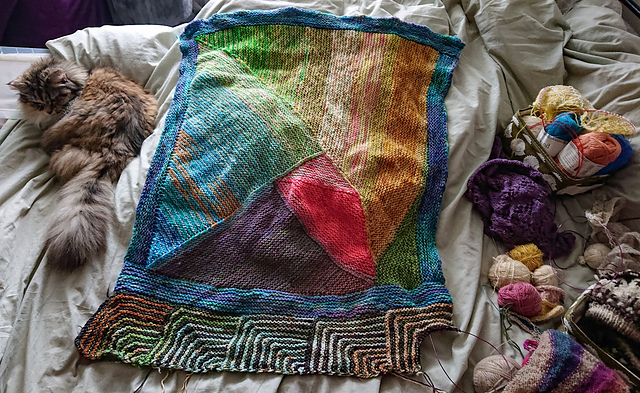
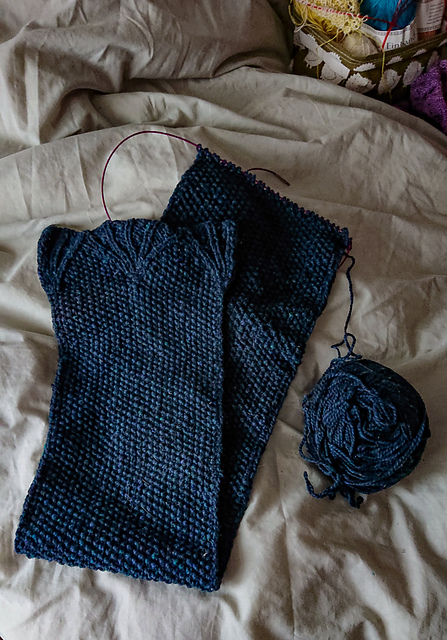
Garter Stitch Mashup Blanket
This project isn't bad, I just have a glut of blankets in the house at the moment, so there's no urgency. I have two crocheted blankets in the rotation, I received a nice big one for Christmas, I have a really beautiful quality woven alpaca blanket from my mom, and we have one for every chair and sofa space. We're not wanting for blankets. So I'm not compelled to work on this, even though it's reasonably fun.
Its fate: Save for later.
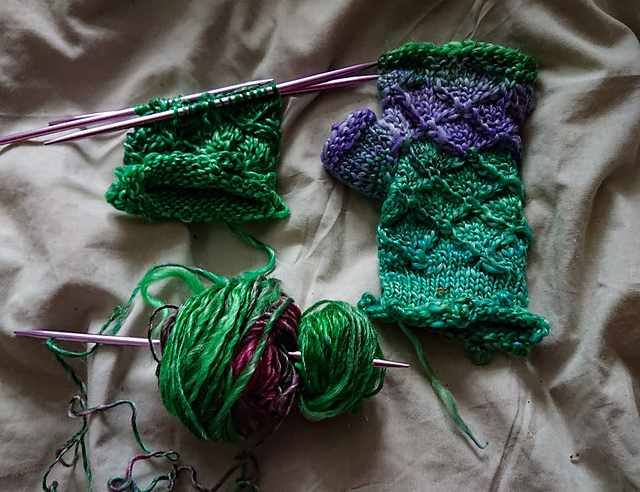
Leighton House mitts
Beautiful. BEAUTIFUL. This pattern, and this yarn, makes me wax poetic. The way the colours shine on Wensleydale. The delicacy of it. The way it's silky, but woolly at the same time. I'm smitten. But I know exactly why I put this down. The colourwork is too much for my tiny brain to handle.
Its fate: I'll keep it in mind for the day when I want more of a challenge.
Dreambird shawl
I've gotta pick this back up sometime. I know why I bounced off it - the instructions are funny, and I made some mods, so each row was a lot of thinking. But if I can get into the swing of it, it could be something really fantastic.
Its fate: Read some other people's project notes and try and make sense of things.
Rainbow Scale Mitts
Wow, how 'bout this one. I made one mitt already! I'm half way through the second! Why did I drop it?
This was intended to be a design. I love this stitch pattern. It won't be worth it to publish this pattern, but I owe it to the mitts to finish them. It would only be the work of an afternoon or two.
Its fate: Pick it back up when I need some instant gratification.
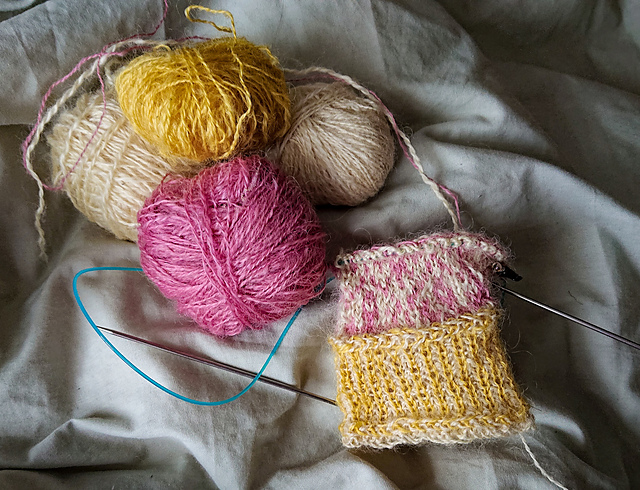
Pink socks
OK, *this* is probably my oldest WIP. Look, it's on double-pointed needles! I haven't knit a sock on DPNs since... I can't recall. I don't love the yarn, I don't love the colour, and I think I was only knitting these to get a chance to re-photograph this pattern (one of my own designs).
Its fate: This one is on notice. I'm not frogging it, yet, mostly because I don't think I could do anything better with the yarn either.
Handspun Romney shawl - Emanuela
I have complicated feelings about my lace projects. My style and identity have evolved since my days of wearing lace shawls. Dang, this is pretty nice though. Handspun Romney, the yarn is thin but strong.
Some of the edge stitches fell off the needles and laddered down, so I have to do some restoration work before I knit this again.
Its fate: Save for later.
Lady Russell shawl
Oh. *Oh*. Hello, beautiful.
(Forget what I just said about lace. This, I would wear every day of my life.)
I didn't get to keep the sample of the original Lady Russell shawl from Jane Austen Knits, so I cast this on pretty soon after finishing that so I could have one of my own. Decadent yarn, big lovely shawl, with a real weight to it. If I remember right the lace pattern is relatively intuitive. I'd like to make this one of my projects this year.
Its fate: Put this one on deck for after I've finished a couple other things.
Icelandic Shawl - Lambton Panes
Good yarn and pattern combo, I just need to get into the headspace for it.
This is Einband yarn that I got in Reykjavik 4 years ago, and now I've since been to Iceland once again. Oops. Well, at least I didn't bring back any yarn this time.
Its fate: I can't see myself working on it at the moment, but I want to finish it eventually.
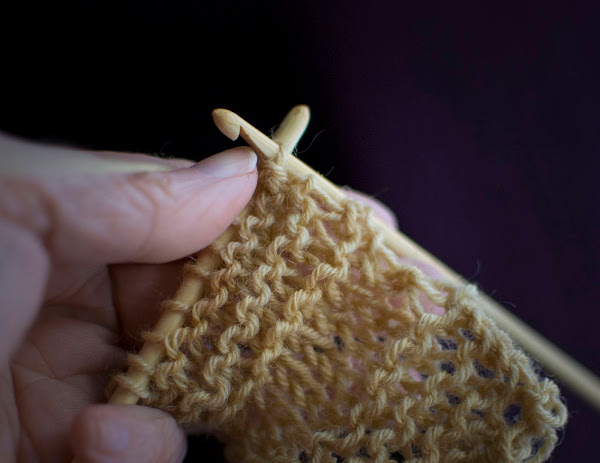
Peaks Island hooded scarf
It's a scarf. A seed stitch scarf. Dear god.
Its fate: I'm halfway done, so I'll consider picking it up again soon. But if that doesn't stick, then it's off to the frog pond.
Missing in Action
I know I have these projects in the house somewhere, but can't locate them at the moment.
How do I lose two finished sleeves and a sweater's worth of yarn? Just Joy things. I would like to pick this up soon if I can find it, as a few miles of stockinette in tiny yarn would do my soul good.
Garter stitch blanket of handspun wool samples. It's been hit by moths before and it probably has again, wherever it is. It can stay in its corner until I feel like doing some mending.
I don't know about this one. It's beautiful, and I mean beautiful. The yarn is gorgeously delicate, and a great colour. But I don't wear my lace at the best of times anymore, and I certainly wouldn't wear a circular shawl. It'd be one of those projects that I cast off, block, look at lovingly, and shove into the back of the wardrobe. Even if I find it, I don't see myself finishing it, at least for now.
I am really glad I took this opportunity to take stock, and I've been inspired to pick up a few of these projects or slot them in later in the year. The temptation to cast on new projects is great, but I was really losing sight of everything I already had!
~Joyuna


 The Grateful Crane Shawl
 Elven Slippers
 Russell Square Mitts
 Russell Square Tam
 iTouch Jumper
 Twisty Wristband
 Mawata Pulsewarmers